
 ONLINE VAPE STORE UK.
FREE DELIVERY OVER £40
- SAME DAY DISPATCH - ORDER BY 4PM
ONLINE VAPE STORE UK.
FREE DELIVERY OVER £40
- SAME DAY DISPATCH - ORDER BY 4PM
 01772 230513
How to Clean Your Vape Tank: A Step-by-Step Guide
Learn how to clean your vape tank the right way with this step-by-step guide from Ninja Vapes. Fix burnt hits, leaking, and weak flavour in minutes.

Time for a Fresh Start?
Sometimes a good clean brings a tank back to life — and sometimes it's just telling you the coil (or the whole kit) has done its time. There's no shame in that; parts wear out, that's exactly what they're built to do.
If your device has seen better days, these are the kits our team actually reaches for. Easy to live with, easy to keep clean, and the kind of thing we'd happily hand a friend who's just getting started.
- Simple to refill and even simpler to maintain
- Great flavour straight out of the box
- Backed by 10,000+ Trustpilot reviews and 5% cashback on every order
Not sure what suits you? Ask our team — same advice we'd give you across the counter.
Featured Products



Table of Contents
How to Clean Your Vape Tank: A Step-by-Step Guide
"My vape tastes burnt, is it broken?"
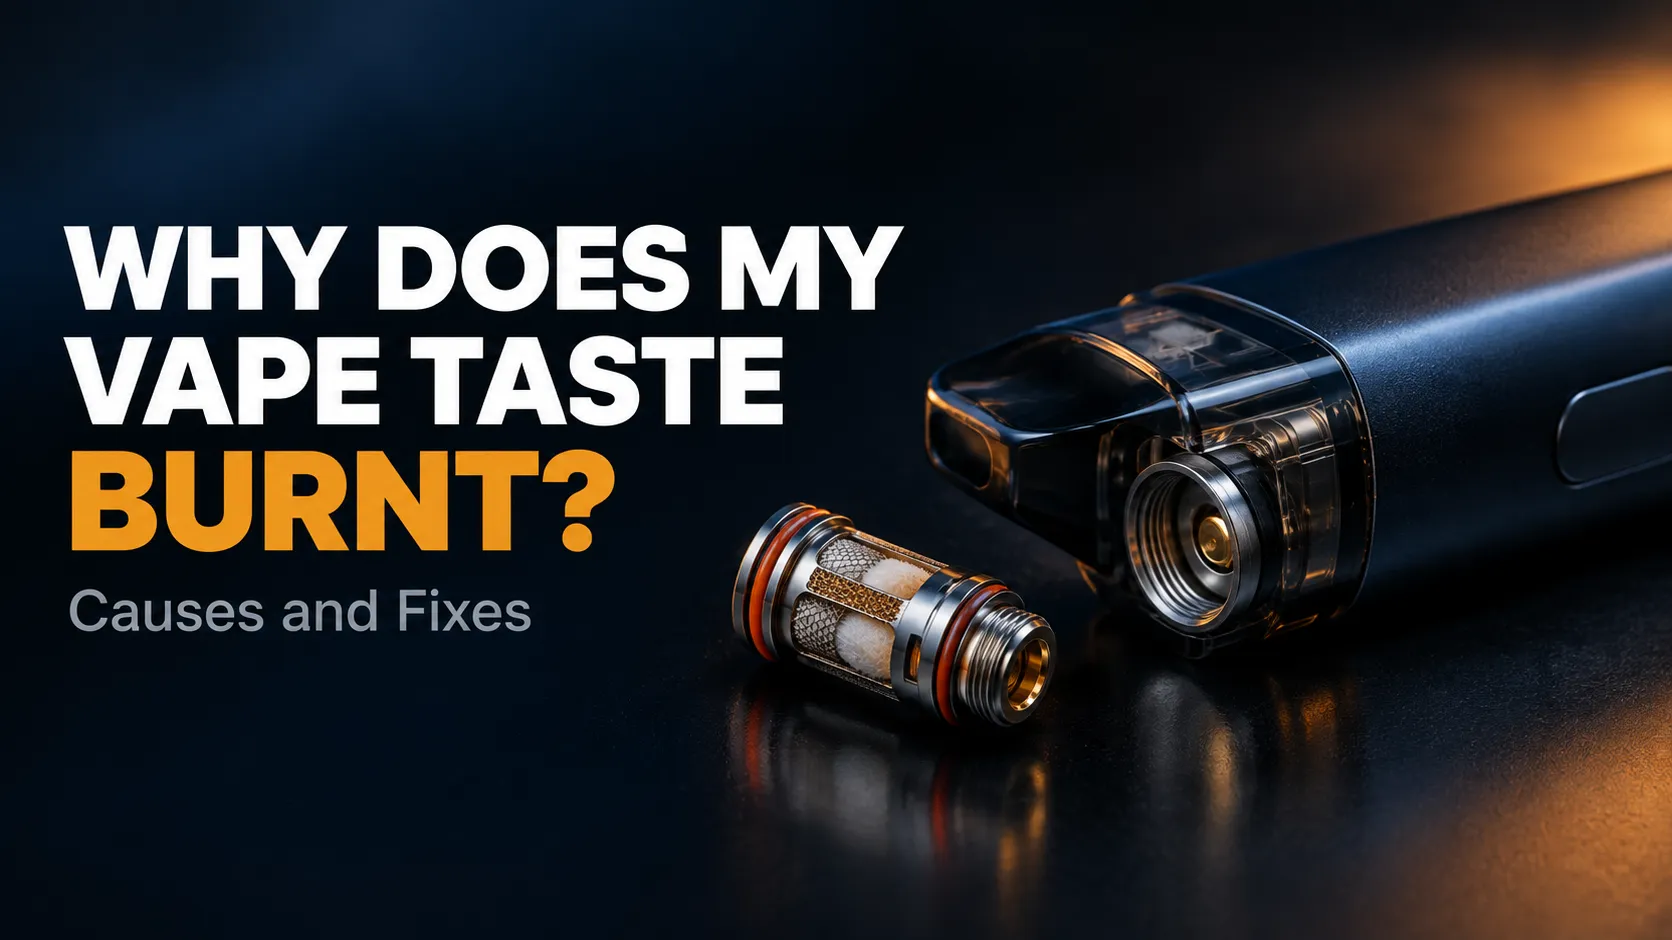
Sincerely, we are asked this question at least five times a week at Ninja Vapes. Customers browsing an online store often feel let down by their own machine, treating every technical issue as a personal grievance. And in more instances, it is not a malfunctioning vape, but only a dirty tank that has long been crying foul due to its neglectfulness. We should have a stroll, as we would have had did you yourself walked into this and told us what to do, not with any jargon or upsell, just with the steps.
Why bother cleaning it at all?
The point is, that nobody tells you that when you decide to vape first, then your tank is not a tank but a device that is actively collecting something each time you use it. Each puff causes a residue of some sticky sugar, flavourings, and whatever is in your e-liquid to be of particular interest, particularly if you stick to dessert flavours or anything fruit. They are more of offenders compared to say a simple blend of menthol or tobacco.

Recommended Product
VooPoo PnP X MTL Pod Tank
The Voopoo PNP X DTL pods are designed to work with the Drag S2 and Drag X2 vape kits, and they are compatible with the entire range of PNP X coils. This allows you to experiment with various coil resistances and different inhale styles, making these pods a highly versatile choice.
In due course, that accumulation does various irritating things. It blocks your breathing so your inhalation is stiffer or weaker. It sticks to your coil, and you cannot taste it or it goes all muddy. And it decreases the total life of your equipment, so you are changing parts more frequently than is necessary.
So how do you know it's time? If you're noticing any of these, it's probably not your imagination:
- Flavour that tastes burnt, stale, or just kind of flat compared to when it was new
- Weird gurgling, crackling, or spitting sounds when you inhale
- Leaking around the base, the airflow, or even out the mouthpiece
- Vapor production that's noticeably weaker than it used to be
- Glass that's turned cloudy, sticky, or discolored on the inside
If two or three of those sound familiar, don't worry - this is a five-minute fix, not a whole ordeal.
What you'll actually need
Nothing fancy, and you probably already have most of this at home:
- Warm water
- A small bowl or cup
- Cotton swabs or a soft, lint-free cloth
- A spare coil, if you've got one lying around
- A few paper towels
No dish soap. No rubbing alcohol. We'll explain exactly why in a minute, but just trust us on this for now.
Let's clean it, step by step
1. Take it apart first.
Power down your device before you touch anything - this isn't optional, it's just good habit. Unscrew the tank from the battery, then separate the glass, the top cap, the bottom cap, the drip tip, and the coil. Here's a tip we give literally everyone who comes in: lay the pieces out in order on a paper towel as you go. You'd be amazed how many people show up with a sandwich bag full of loose vape parts and zero memory of how it fits back together.
2. Just remove the coil and have a good look at it.
When it's been over a week or two of constant use, or when it is evidently of which side that smoldering flavour is going, here is the time to take another one in its place. This is important as an otherwise clean tank combined with a used coil is going to still provide you with a burnt hit. They are two different issues, which simply coincide on the surface.
3. Wash all with warm water.
Warm, not hot. Glass can bend under the influence of hot water, and it is not quite needed: warm water does it quite well by itself.
4. Have a soak on it, when it is up to the brink.
In the case of tanks that are not regularly washed, place the components in a bowl of warm water which should be allowed to sit between 10 to 15 minutes. This softens stiff, clingy-hanging stuff wherewith you do not have to use a harsh chemical at all.
5. Enter into threading and into the airflow slots.
Most people will fail to do this and it is normally where the worst gunk is lurking. Use a cotton swab and rub in circles with it over the holes in the airflow and around the threads on which the coil screws in to the base. It is a little discount which really counts.
6. Wait till it becomes dry, not damp.
Allow all of it time to dry properly (at least 20-30 minutes) then reassemble. People will always skip over this one due to impatience, yet any residual water in there will negatively affect the functionality of your coil giving you a small, damp, first few hits.
7. re-penetrate and point out the coil again.
Re-screw the coil to the base, reconnect the tank and fill it with your e-liquid. This is where it counts and is most overlooked: Do not start vaping it before letting it sit at least 5-10 minutes. The waiting period allows the coil to completely absorb the juice, and it is the one honest method of making sure that bitter, scalding initial strike.
A few things you shouldn't do
- Skip the dish soap and rubbing alcohol entirely - any leftover residue will wreck your flavour for days
- Don't use hot water, ever, on the glass or plastic components
- Don't rush the drying step, seriously, this is the one people mess up most
- Don't assume a clean tank fixes everything - sometimes it's just the coil, and that's fine, coils are meant to be replaced
So how often should you actually be doing this?
It really comes down to how much you vape:
- Casual, once-in-a-while vaper ? every couple of weeks is plenty
- Daily vaper ? once a week keeps things running smoothly
- Heavy cloud chaser ? every few days, since you're putting more wear on everything
- Flavour switcher ? clean between switches, especially if you're jumping from something like menthol to a sweet dessert flavour
That last one trips up a lot of people. You'll get what we call "ghost flavour," where your last juice bleeds into whatever you fill next, if you don't rinse in between switches. It's not your imagination and it's not a bad batch of juice - it's just residue.
Common Beginner Questions We Hear All the Time
Why does my vape taste burnt?
Usually a coil that's either brand new and hasn't soaked long enough, or one that's simply worn out and needs replacing.
Why is my device leaking?
Often it's overfilling, filling too fast, or a coil that's coming loose. Double-check everything's screwed in snugly.
How do I know my battery's low?
Most devices will flash a certain number of times or show a low-battery icon on the screen. When in doubt, just charge it - it won't hurt to top up.
Can I use any e-liquid in any kit?
Not always. Pod kits generally work best with nic salt e-liquids, while sub-ohm tanks are built for regular "freebase e-liquids". If you're unsure what your kit takes, that's exactly what we're here for.
Why Trust Ninja Vapes UK?
Lowest Price Guaranteed
Your savings, our promise.
5% Cashback on Orders
Earn rewards with every purchase.
Trusted by customers.
Free delivery over £40
Shop more, save more





Rabbya Tahir serves as Content Manager at Ninja Vapes, where she directs the production of the company's guides and reviews. Her expertise lies in distilling technical product knowledge into clear, actionable content for a broad customer base. Committed to accuracy and accessibility in equal measure, she ensures that every article — from beginner's guides to advanced maintenance tips — reflects the practical realities of everyday vaping.
2 Replies
Great article, answered all the basic question. thanks
Good article, thanks for sharing